- Need Diagnostic Guidance? Call Desk: +971 55 639 9463
- Expert Support: 8:00 AM – 10:00 PM (GST)


Few things undermine driving confidence faster than a brake pedal that sinks too close to the floorboard, a front-end shutter when slowing down from highway speeds, or a harsh metallic clunk every time you hit a speed bump.
Your vehicle’s braking and suspension assemblies work in direct mechanical harmony. When you step on the brake pedal, hydraulic force shifts thousands of pounds of kinetic energy forward onto your front control arms, struts, and ball joints. If your suspension bushings are torn, your brakes cannot maintain clean contact with the road; if your brake rotors are warped, the resulting vibration rapidly destroys wheel bearings and tie rod ends.
Whenever you install new brake pads and rotors, never skip the "pad bedding" procedure. Make 4 to 5 moderate decelerations from 60 km/h to 15 km/h without coming to a complete stop, allowing the brakes to cool for 5 minutes in between. This deposits an even, microscopic transfer layer of friction material onto the rotor face, preventing brake squeal and pedal pulsation for the entire lifespan of the pads.
When multiple dashboard indicators illuminate simultaneously or a check engine light appears and disappears without a noticeable change in engine performance drivers are often left stranded between expensive dealership diagnostic quotes and complete uncertainty. Understanding modern vehicle intelligence and diagnostic telemetry is the single most effective way to protect your vehicle, verify repair quotes, and fix underlying electronic faults before they cause severe mechanical failure.
Understanding whether your issue is hydraulic, friction-based, or structural prevents misdiagnosis:
High-Pitched Squeak / Grind: Friction material worn down to the steel backing plate or the built-in mechanical wear indicator contacting the rotor face.
Steering Wheel Shakes Only When Braking: Excessive lateral runout (disc thickness variation) on the *front* brake rotors.
Seat / Chassis Vibrates When Braking: Warped rear rotors or sticking rear slide pins.
Pulsing Pedal with Clunking over Bumps: Blown strut top-mount bearings or play in the sway bar end links allowing the suspension geometry to deflect under braking torque.
Before disassembling your calipers, cross-referencing your vehicle’s active symptoms with the DriveSolve Car Diagnostic Navigator will instantly check your make and model against known chassis service bulletins and ABS trouble codes (such as C0035 for wheel speed sensor circuits).
Step 1: Test Brake Fluid Moisture & Hydraulic Integrity
Brake fluid is hygroscopic meaning it actively absorbs atmospheric moisture through rubber brake hoses and master cylinder reservoir seals over time. As water content rises, the fluid’s boiling point drops drastically from 260°C down to 140°C. Under hard braking, this moisture turns into steam pockets, creating a dangerous, spongy pedal that sinks to the floor.
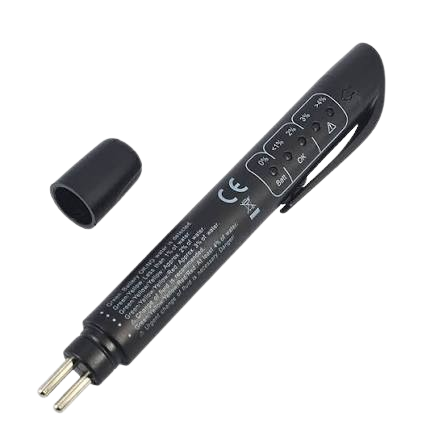
Remove the reservoir cap and dip the probe pins of a [[Digital Brake Fluid Liquid Moisture Tester Pen]] into the fluid:
0% – 1% Moisture (Green LEDs): Fluid is pristine with maximum boiling resistance.
2% Moisture (Yellow LEDs): Fluid is aging; schedule a hydraulic flush soon.
3% – 4%+ Moisture (Red LEDs): Critical fluid breakdown. Vapor-lock risk is severe under emergency braking. Flush and bleed the entire hydraulic loop immediately.
Step 2: Inspect Caliper Slider Pins & Piston Retraction
Uneven brake pad wear (where the inner pad is paper-thin but the outer pad is barely worn) is caused by seized caliper slide pins or a sticking piston.
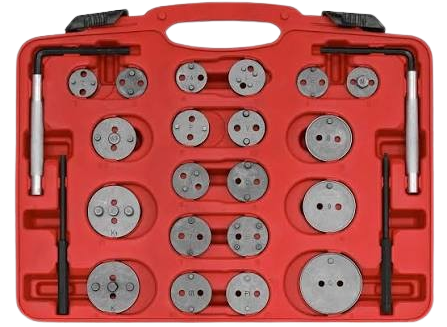
Remove the caliper and check the rubber guide pin boots for tears. When retracting rear electronic parking brake (EPB) or mechanical integrated calipers, never use an aggressive pry bar, which damages internal ratcheting mechanisms. Utilize a specialized [[Universal Disc Brake Caliper Wind Back Tool Set]] to smoothly rotate and compress the piston back into the caliper housing without tearing the internal hydraulic square-cut seal.
Step 3: Check Rotor Lateral Runout & Disc Thickness Variation
Many drivers assume pulsating brakes are caused by “warped steel.” In reality, uneven pad material transfer creates microscopic high spots.
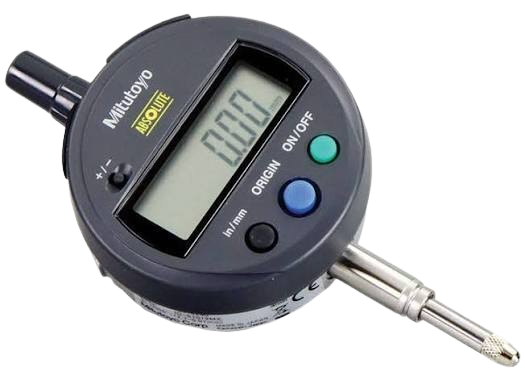
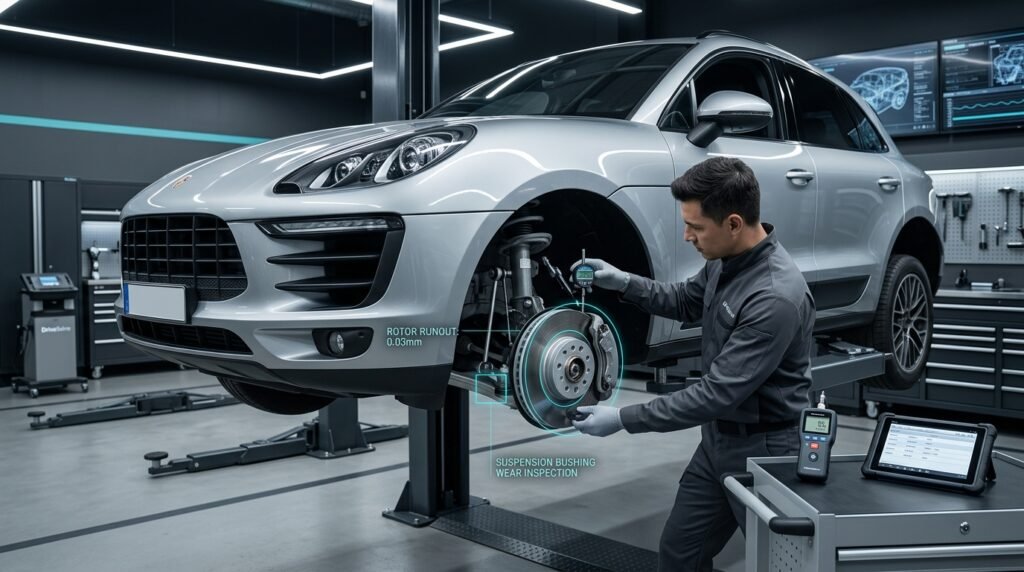
Mount a digital dial indicator against the rotor face and rotate the hub by hand:
Maximum allowable lateral runout is typically *0.05 mm (0.002 inches).If runout exceeds factory tolerances, clean rust scale from the wheel hub face with a wire brush before deciding whether to machine or replace the rotor.
Step 4: Perform the 12-and-6 / 9-and-3 Suspension Pry Test
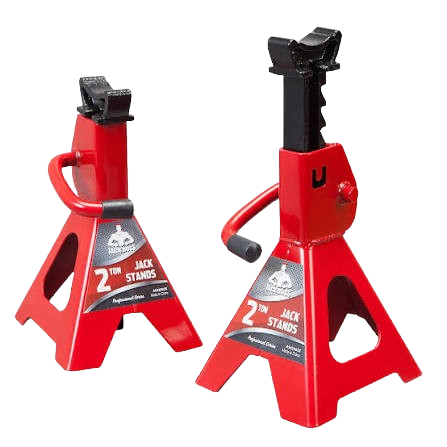
Raise the vehicle securely on jack stands and grab the front tire firmly with both hands:
Play at the 9 and 3 O’clock Position: Indicates worn inner or outer tie rod ends.
Play at the 12 and 6 O’clock Position: Points directly to a loose wheel hub bearing or a failing lower ball joint.
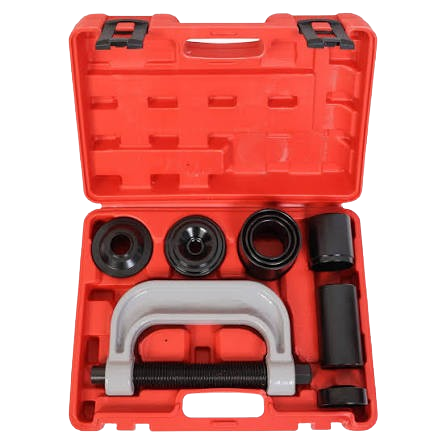
Clunking on Acceleration / Braking: Insert a pry bar between the subframe and control arm. If the rubber bushing flexes excessively or shows cracks, press out the degraded sleeve using a [[Heavy Duty Ball Joint and Bushing Press Removal Tool Kit]] to restore factory alignment geometry.
| Essential Diagnostic Tool | Primary Function | Ideal For |
|---|---|---|
| Universal Disc Brake Caliper Wind Back Tool Set | Dual-direction rotation and piston compression for front and rear caliper assemblies. | Resetting parking brake pistons safely without tearing rubber seals or damaging internal gearing. |
| Digital Brake Fluid Liquid Moisture Tester Pen | Rapid optical LED conductivity testing measuring percentage of water contamination in DOT3, DOT4, and DOT5.1 fluids. | Diagnosing spongy brake pedal feel, vapor-lock risks, and identifying contaminated hydraulic lines. |
| Heavy Duty Ball Joint and Bushing Press Removal Tool Kit | High-tonnage C-frame press with multi-size adapter cups for removal and installation. | Servicing press-fit lower ball joints, control arm bushings, and universal joints without removing the full control arm. |
Braking and suspension performance are closely tied to chassis electronics and powertrain stability. Follow these guides to complete your troubleshooting loop:
Experiencing simultaneous ABS, Traction Control, and Check Engine warnings? Read our detailed breakdown on Decoding Modern Vehicle Warning Lights: Ghost Faults & Voltage Drops
Diagnosing hydraulic pressure balance issues between front discs and rear drums? Jump into our Brake Proportioning Valve Adjustment & Troubleshooting Guide
Dealing with parasitic battery drain after servicing electronic parking brakes (EPB)? Check our step-by-step walkthrough on How to Perform a Parasitic Battery Drain Test
Stop guessing which suspension arm or brake component is causing your driving issues. Input your vehicle year, make, model, and active symptoms into the DriveSolve Car Diagnostic Navigator to receive a tailored failure probability report, exact component inspection checklists, and verified DIY repair sequences in seconds.