- Need Diagnostic Guidance? Call Desk: +971 55 639 9463
- Expert Support: 8:00 AM – 10:00 PM (GST)


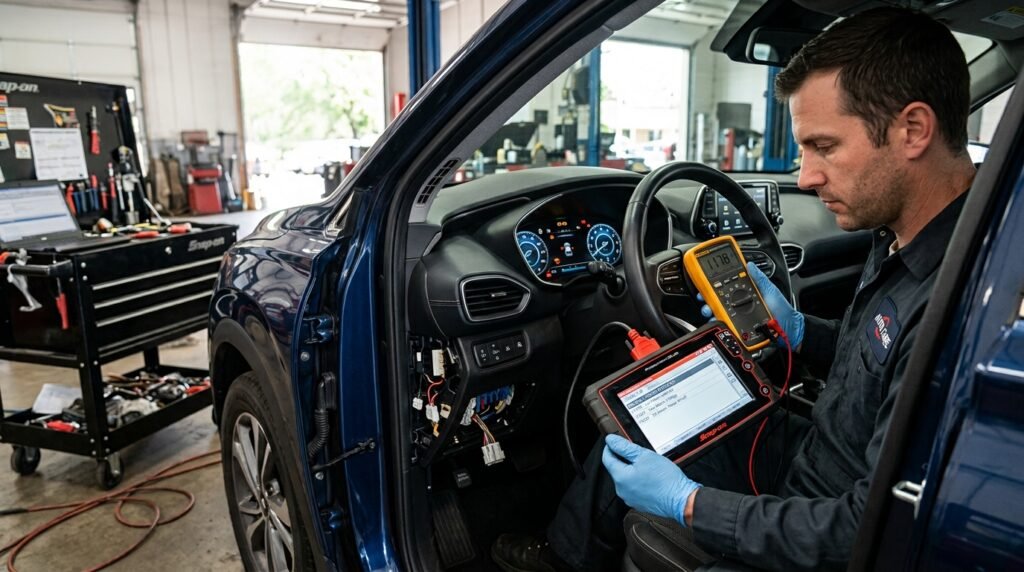
If your vehicle suddenly displays an ABS light, Traction Control light, and Check Engine light all at the same time, do not panic and assume multiple systems failed simultaneously. Modern ECUs disable traction control by default whenever any engine fault occurs to protect the drivetrain. Always diagnose the primary engine code first; resolving it will almost always clear the ABS and stability warnings automatically.
When multiple dashboard indicators illuminate simultaneously or a check engine light appears and disappears without a noticeable change in engine performance drivers are often left stranded between expensive dealership diagnostic quotes and complete uncertainty. Understanding modern vehicle intelligence and diagnostic telemetry is the single most effective way to protect your vehicle, verify repair quotes, and fix underlying electronic faults before they cause severe mechanical failure.
A ghost fault occurs when an electronic control module logs a diagnostic trouble code (DTC) even though the mechanical component itself is fully functional. In modern vehicles, sensors operate within razor-thin voltage margins (typically 0.5V to 4.5V).
Micro-Voltage Fluctuations : If your vehicle battery drops below 12.2 volts during engine cranking, sensitive microprocessors in the ABS and body control modules temporarily lose reference voltage, setting false communication codes (such as U0100 or U0121).
Ground Lug Oxidation : High resistance on chassis ground straps prevents clean electrical returns, triggering phantom sensor failure codes.
Sensor Drift vs. Total Failure : Oxygen sensors and Mass Air Flow (MAF) sensors rarely fail completely overnight. Instead, they “drift” out of calibration, causing intermittent lean or rich fuel trim codes (P0171 / P0172) that confuse standard code readers.
Before replacing expensive sensors or catalytic converters, running a complete system evaluation with the DriveSolve Car Diagnostic Navigator isolates whether the issue is a genuine mechanical breakdown or a transient electrical voltage drop.
Step 1: Capture Freeze Frame Data Before Clearing Codes
Never clear a warning light simply to turn off the dash icon. Clearing the fault erases the Freeze Frame Data a vital digital snapshot recorded by the ECU at the exact second the malfunction occurred.
Plug in a reliable Universal OBD-II Bluetooth Diagnostic Scanner to record engine RPM, coolant temperature, vehicle speed, and short/long-term fuel trim percentages. If a misfire code (P0300) occurred only at cold start (coolant temp below 40°C), the issue points to an intake manifold gasket or valve deposit rather than an ignition coil.
Step 2: Perform a Parasitic Draw & Cranking Voltage Drop Test
Modern electronic modules require steady, clean DC power. A battery that starts the car can still have a degraded internal cell that wrecks ECU data streams.
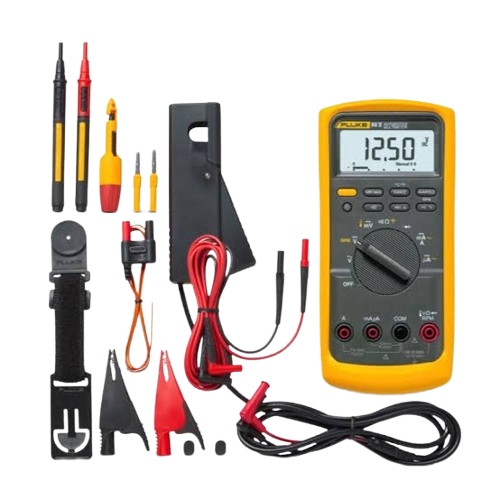
Using a precision Digital Automotive Multimeter with Backprobe Kit, measure your battery’s resting voltage across the terminals:
12.6V – 12.8V : Fully Charged (Healthy reference state).
12.2V – 12.4V : 50% Discharged (High risk of false sensor codes).
Below 10.0V During Cranking : Immediate battery replacement required; low cranking voltage corrupts ECU initialization tables.
Step 3: Clean and Stabilize CAN Bus Connectors
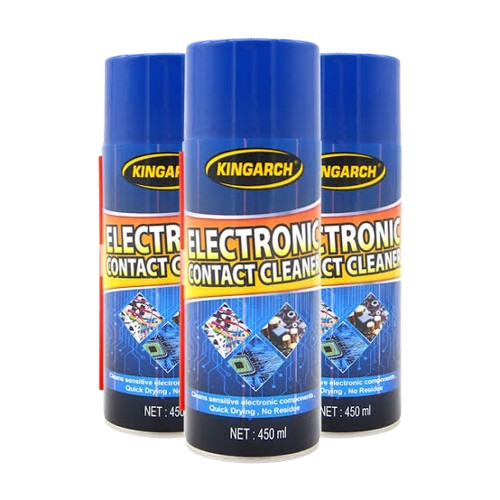
Road grime, humidity, and micro-vibrations loosen pin tension in sensor wiring harnesses. Disconnect the affected sensor harness, inspect the pins for green copper corrosion, and treat the connection using a specialized Automotive Electrical Contact Cleaner & Terminal Restorer to eliminate intermittent resistance spikes.
“It’s something you can do in your driveway. Start with the valve in the middle, then drive the vehicle for 200 miles to seat-in the pads, just normal driving. After that 200 miles, in a safe area, do some heavier stops to see how the rear brakes react.
“If the rear brakes are locking up, you can reduce that pressure a little bit. Or if you feel you can get a little bit more from the back brakes, you can increase that pressure.
“Where you set it really depends on the vehicle. Your tires, your suspension setup, the weight of the vehicle there are too many variables for us to specify a particular setting.”
| Essential Diagnostic Tool | Primary Function | Ideal For |
|---|---|---|
| Universal OBD-II Bluetooth Diagnostic Scanner | Real-time sensor telemetry, Freeze Frame reading, and live ECU data streams. | Instant code decoding, clearing transient codes, and pre-inspection smog checks. |
| Digital Automotive Multimeter with Backprobe Kit | Testing pin voltages, ground resistance, alternator ripple, and parasitic current draw. | Pinpointing wiring shorts, dead battery cells, and bad sensor grounds. |
| Automotive Electrical Contact Cleaner & Terminal Restorer | Cleans micro-corrosion from sensor pins, MAF sensor housings, and ECU multi-plugs. | Eliminating ghost codes, erratic idle signals, and loose pin connections. |
Safe for DIY Troubleshooting:
Requires Certified Workshop Attention:
Never let an unexpected dashboard light turn into unnecessary mechanic expenses. Input your vehicle’s active symptoms or trouble codes into the DriveSolve Car Diagnostic Navigator to get immediate failure probability scores, component verification steps, and exact DIY repair paths before touching a wrench.
A steady light indicates an emissions, sensor, or electronic circuit fault that needs diagnostic attention soon, but the vehicle is generally safe to drive cautiously. A flashing Check Engine Light signals an active cylinder misfire dumping raw fuel directly into the exhaust manifold, which can melt and destroy your catalytic converter within minutes. If the light flashes, pull over safely and turn off the engine immediately.
Yes. Modern Electronic Control Units (ECUs) and body modules rely on a steady reference voltage (typically 12.4V to 12.8V). When a battery degrades or drops below 10.0V during engine cranking, microprocessors in the ABS, steering, and transmission modules suffer momentary communication dropouts. This often triggers "ghost" network codes (like U0100 or U0121) despite the mechanical parts working perfectly.
Clearing DTC codes with an OBD-II scanner also resets the internal OBD-II Readiness Monitors (Catalyst, Evaporative System, Oxygen Sensors, and Misfire monitors) to "Not Ready." Vehicle inspection and smog testing stations will automatically fail your car until you complete a full manufacturer drive cycle and allow the ECU to self-test each system.
In modern vehicle architectures, the powertrain ECU communicates directly with the stability management system over the high-speed CAN bus network. When the engine computer logs an active fault, it often disables stability and traction control by default as a safety fail-safe. In most cases, fixing the primary engine fault code automatically clears the ABS and TCS warning lights.
An amber or yellow light indicates that the system has detected an out-of-spec reading, but the core fail-safe mechanisms are operating. You can drive to your destination or workshop, but avoid aggressive acceleration, towing, or long road trips until you retrieve the fault code with an OBD-II diagnostic tool.